Quick answer: A good home theater starts with the room, not the shopping cart. Decide where people will sit, how much light you can control, what screen size fits comfortably, and how you will hear dialogue. Then choose equipment that works together. You can build a satisfying system in stages rather than buying everything at once.
1. Start with the room and the people using it
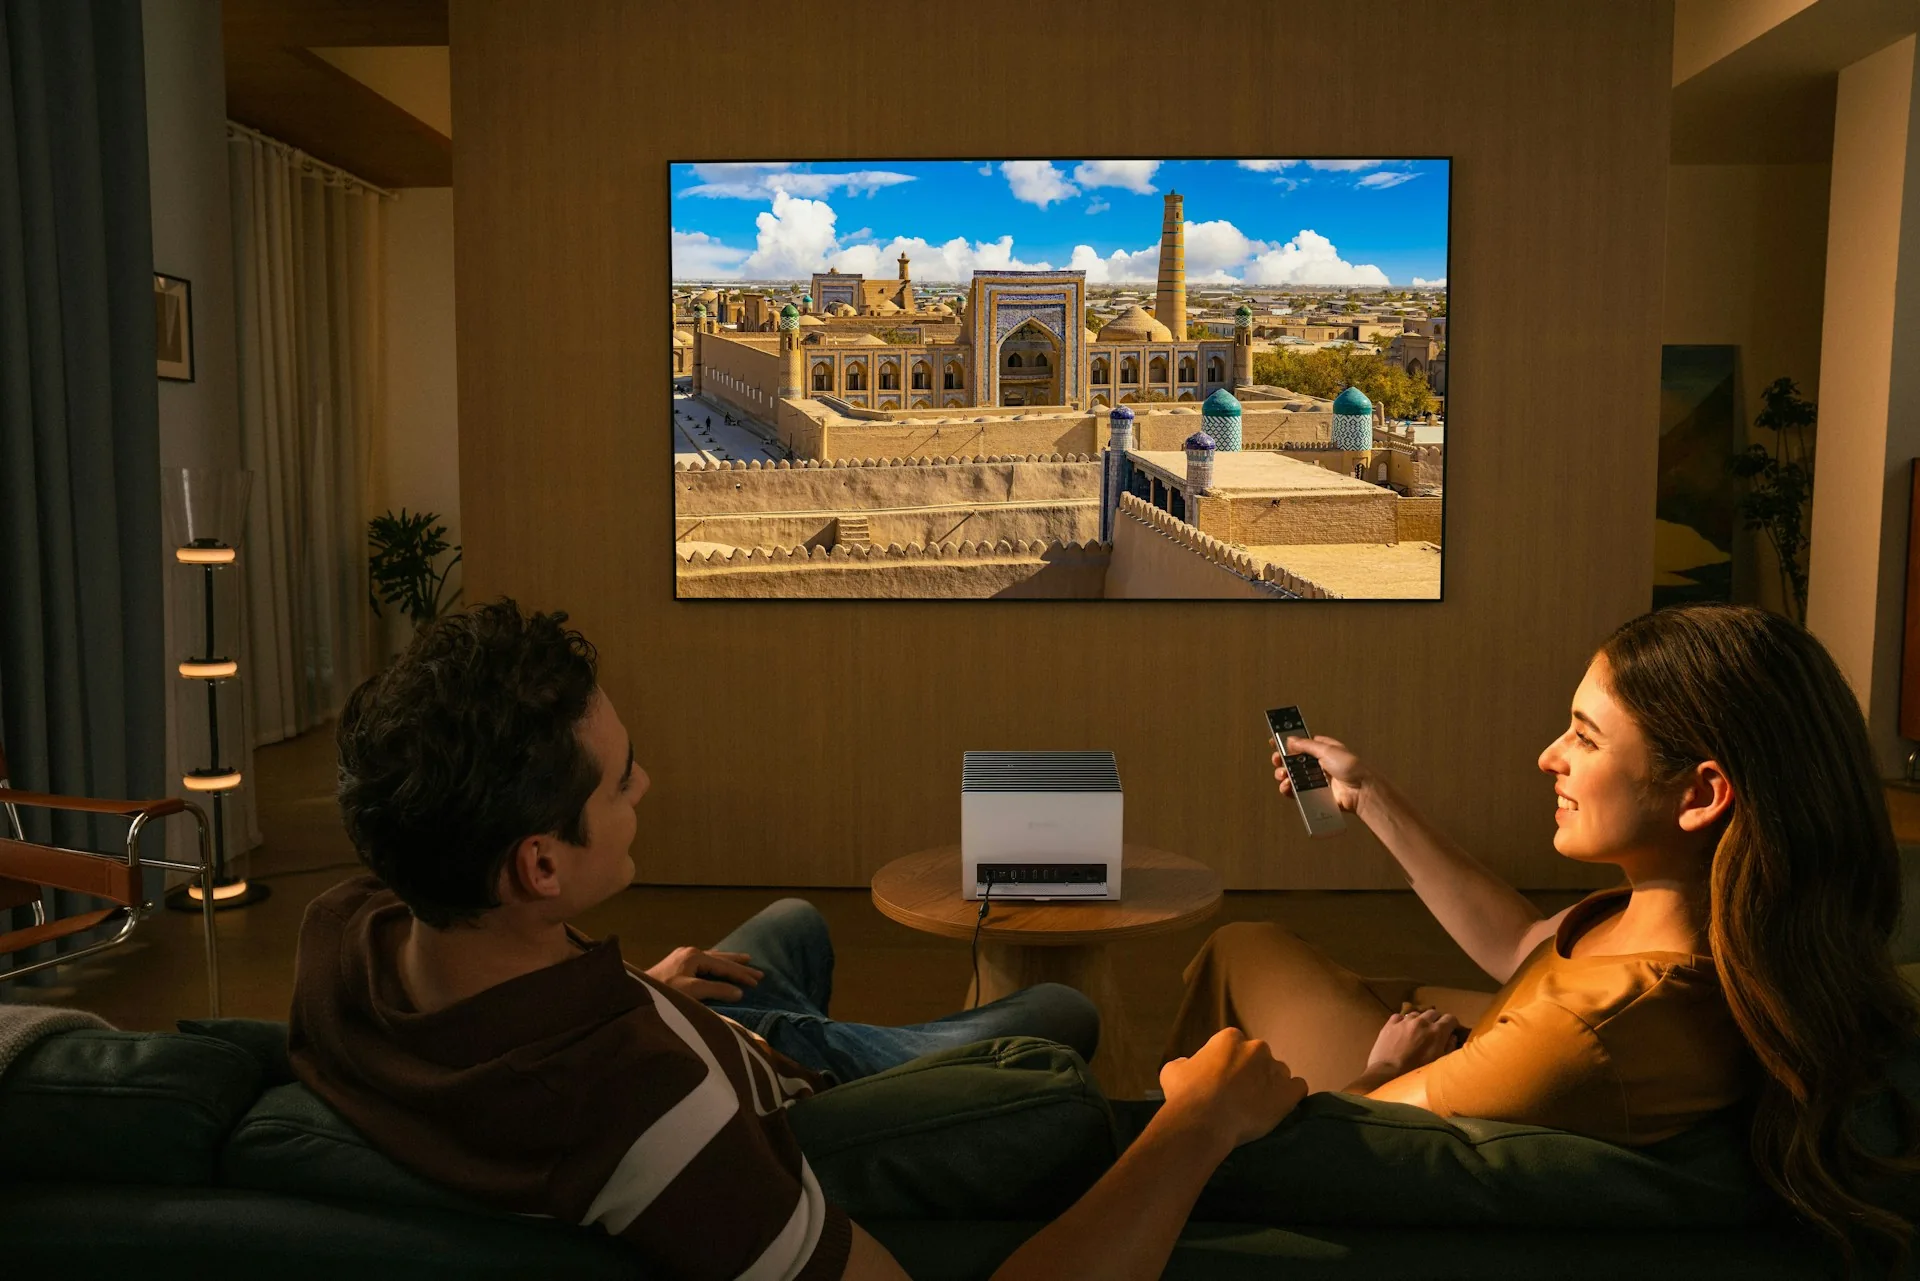
Before comparing television panels or projector brightness, take a few measurements. Note the wall where a screen could go, the distance from that wall to your usual seat, the available width for furniture, and the location of power outlets. Sketch the room on paper. Include doors, windows, walkways, and any furniture you cannot move. This simple drawing can prevent expensive mistakes, such as buying a projector that cannot produce the desired image size from its available position.
Ask how you will actually use the space. A family living room with daytime sports, cartoons, and casual streaming has different needs from a dedicated, light-controlled room used mainly for movies at night. A small apartment also needs a different audio plan from a detached house where you can play movies loudly. There is no universal best setup; there is a setup that fits your room and habits.
Practical check: Sit in your intended viewing position during the day and at night. If daylight falls directly on the screen wall, make light control part of the budget. Curtains or blinds may improve the experience more than a more expensive display.
2. Choose a TV or projector based on your environment
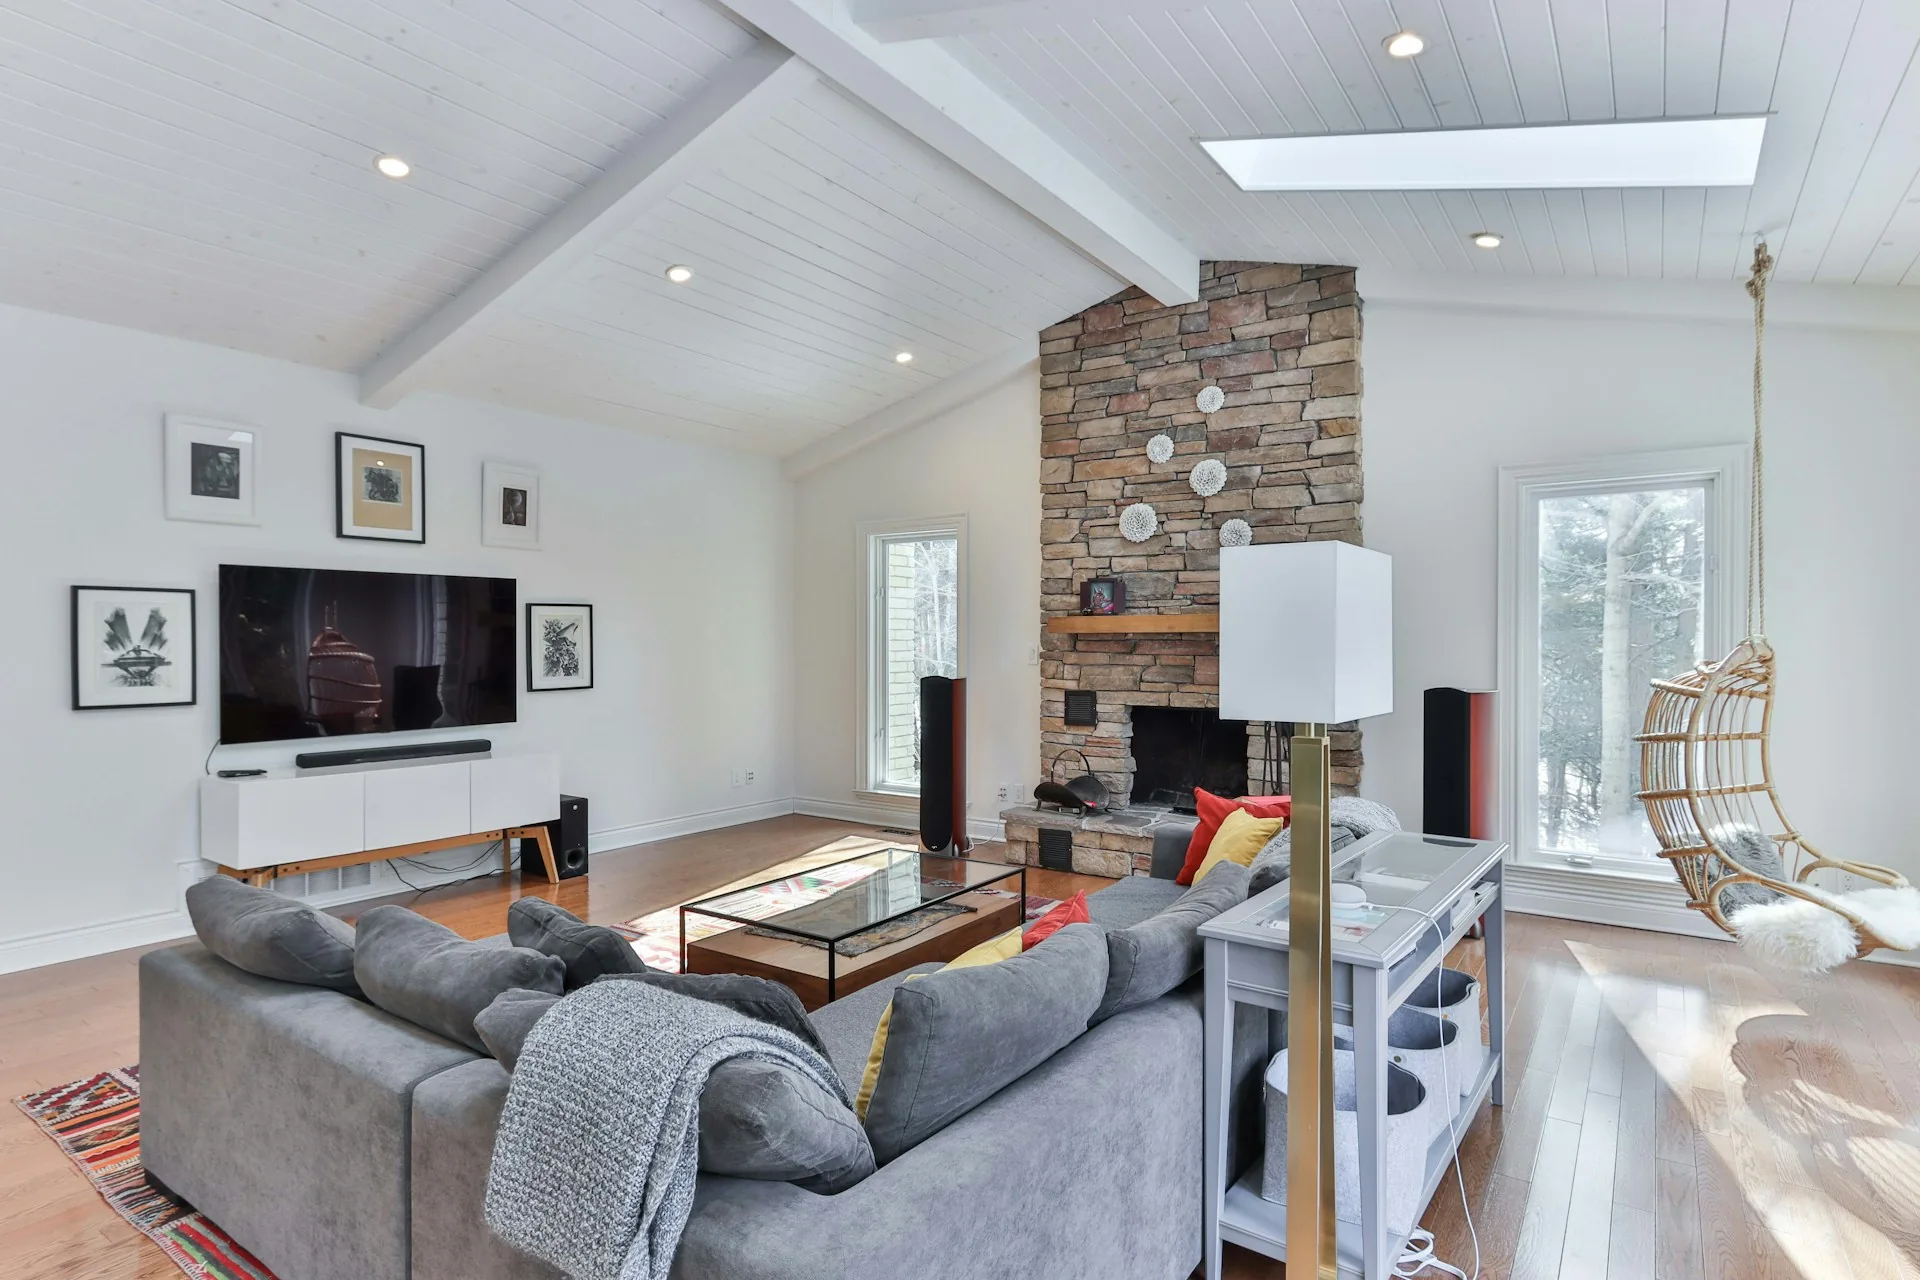
A television is usually the simpler choice for a multipurpose room. It produces a bright image, works well with ordinary ambient light, and does not require projection-distance calculations. Modern televisions also integrate streaming apps and often offer useful gaming features. For everyday use, simplicity can be more valuable than achieving the largest possible diagonal.
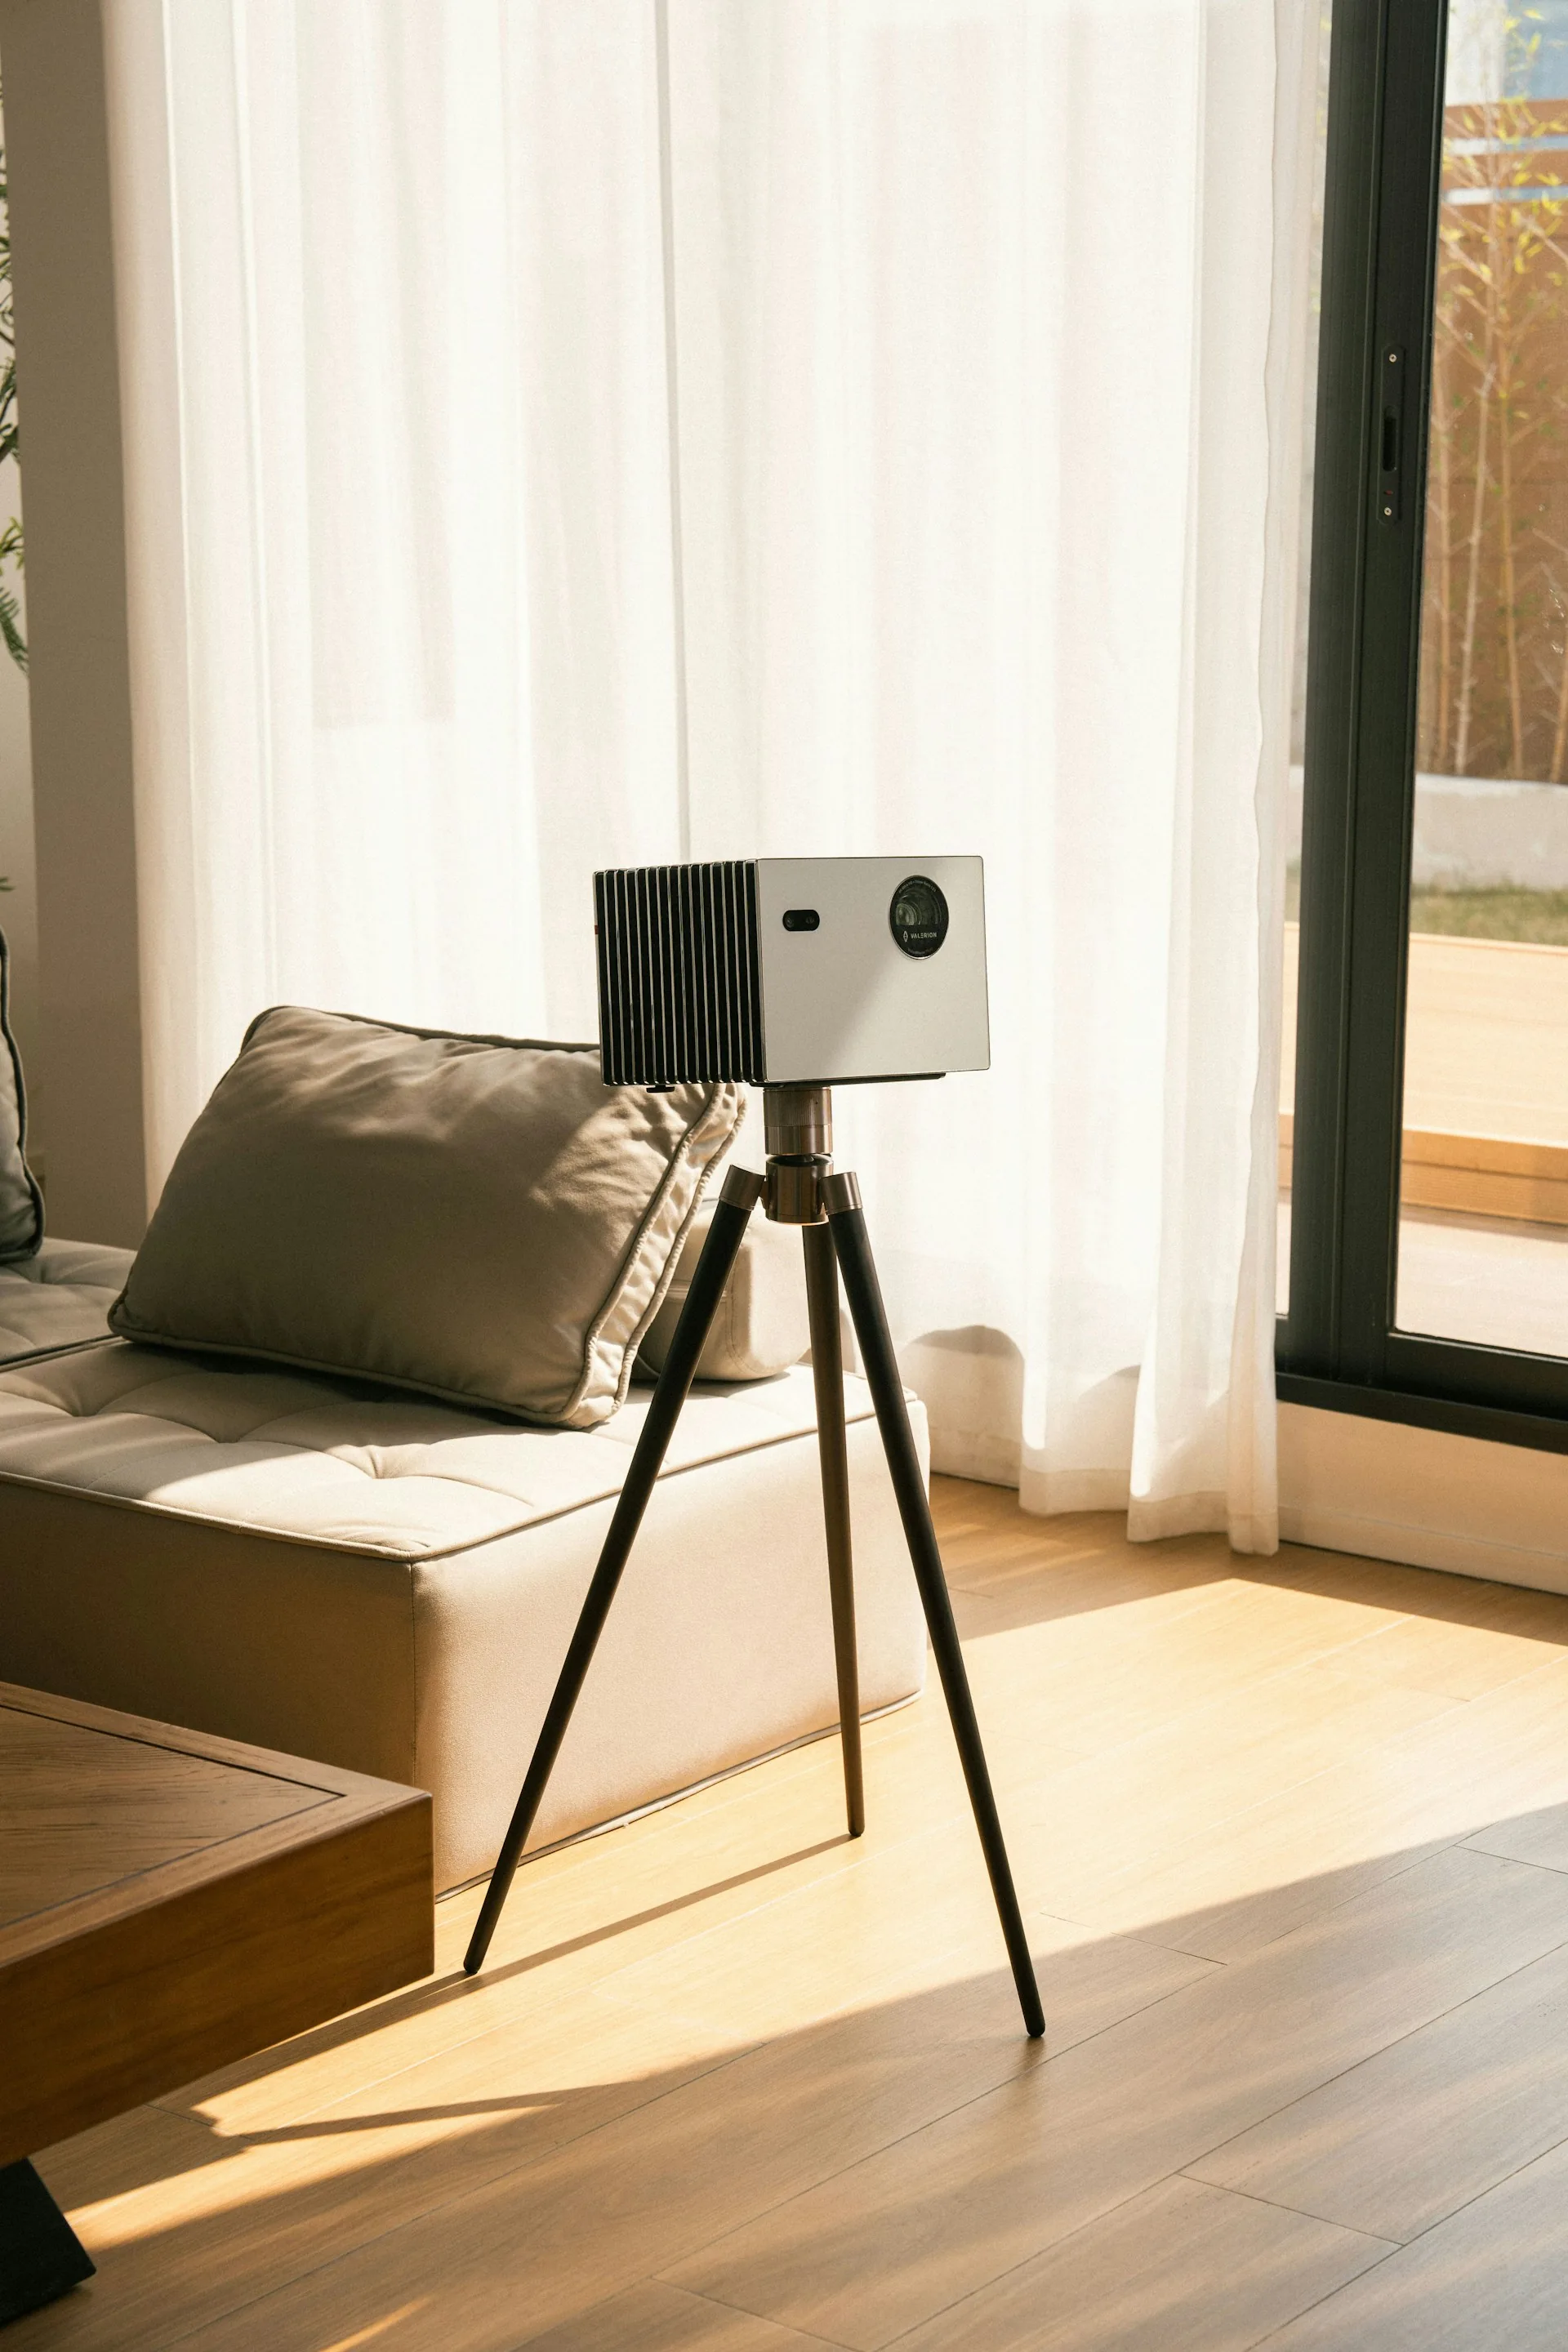
A projector becomes attractive when a very large image is your priority and you can control room light. It requires more planning: projector placement, throw distance, screen size, ventilation, mounting and, in many cases, a separate audio solution. A projector advertised as bright may still look washed out in a sunny room. Screen material and room reflections also influence perceived contrast.
Think about your viewing distance and what feels comfortable rather than chasing the largest screen that fits on the wall. A screen that looks impressive in a showroom can feel overwhelming when your sofa is close. Try outlining the intended screen size with painter's tape before purchasing. Sit down and imagine watching subtitles or a fast-moving game for two hours.
For a projector, check the manufacturer's throw-ratio range and installation manual against the actual distance available. For a television, check the full physical width, stand footprint, wall-mount pattern and viewing angles—not just the diagonal size.
Read our projector versus TV comparison for a more detailed decision process.
3. Build a realistic budget before comparing models
It is easy to spend the entire budget on a screen and discover that you still need speakers, mounts, cables, curtains or furniture. Instead, divide the project into essential components and optional upgrades. The right proportions depend on what you already own: someone with a good television may benefit most from improved audio, while someone with quality speakers may prioritize the display.
A simple example for a limited budget
Suppose you have a total budget of €1,000. One sensible approach is to keep the existing TV if it is working well, spend a meaningful portion on clearer audio, and reserve money for practical setup needs. If you need a new display, you may have to start with the TV and its built-in speakers, then add audio later. Neither approach is automatically wrong.
Include delivery, mounting hardware, a possible installation fee, a surge protector where appropriate, and replacement cables only when needed. Avoid buying premium HDMI cables solely because the packaging promises a more cinematic picture. Select a cable certified for the bandwidth and features your devices require; an expensive cable cannot improve a digital signal that is already being transmitted correctly.
Budget rule: Keep a small contingency for unexpected installation needs. A system that is correctly installed and comfortable to use is more valuable than one premium component surrounded by compromises.
4. Decide how you want to hear movies
Audio often makes a bigger difference to the sense of immersion than people expect. Start with the most common complaint: can everyone understand dialogue at normal listening volume? If not, simply adding more bass will not solve the problem. Speaker placement, room reflections, the mix of the program and audio settings all affect clarity.
Option A: Keep the TV speakers for now
This is reasonable when the room is small, listening volumes are modest and dialogue is already clear. It also leaves room in the budget for a better display. Test the built-in speakers with the actual shows and films you watch before deciding an upgrade is necessary.
Option B: Add a soundbar
A soundbar is often the most straightforward upgrade. It occupies little space and may connect through HDMI ARC or eARC. Some models include a wireless subwoofer or optional rear speakers. Check whether the soundbar fits beneath the television without blocking the picture or remote sensor. Advertised channel counts and virtual surround labels are not a guarantee of how convincing the result will be in your room.
Option C: Use an AV receiver and separate speakers
A receiver-based system gives you more freedom to position speakers, add a subwoofer and upgrade individual components. It also takes more space, cables, setup time and planning. A basic 3.1 arrangement—left, center, right and subwoofer—may be a better first step than a poorly placed collection of many speakers. If dialogue matters most, a properly positioned center speaker can be especially useful.
For more detail about the TV-to-sound-system connection, see HDMI ARC versus eARC. If dialogue remains difficult to hear, follow our dialogue troubleshooting guide.
5. Place the screen and speakers before hiding cables
Set the screen at a comfortable height for seated viewers. A common mistake is mounting a TV high above a fireplace, forcing people to tilt their heads for long sessions. Aim for a natural sight line from the main seat, allowing for furniture and room constraints. If several people watch from different seats, check whether the picture remains clear from the sides.
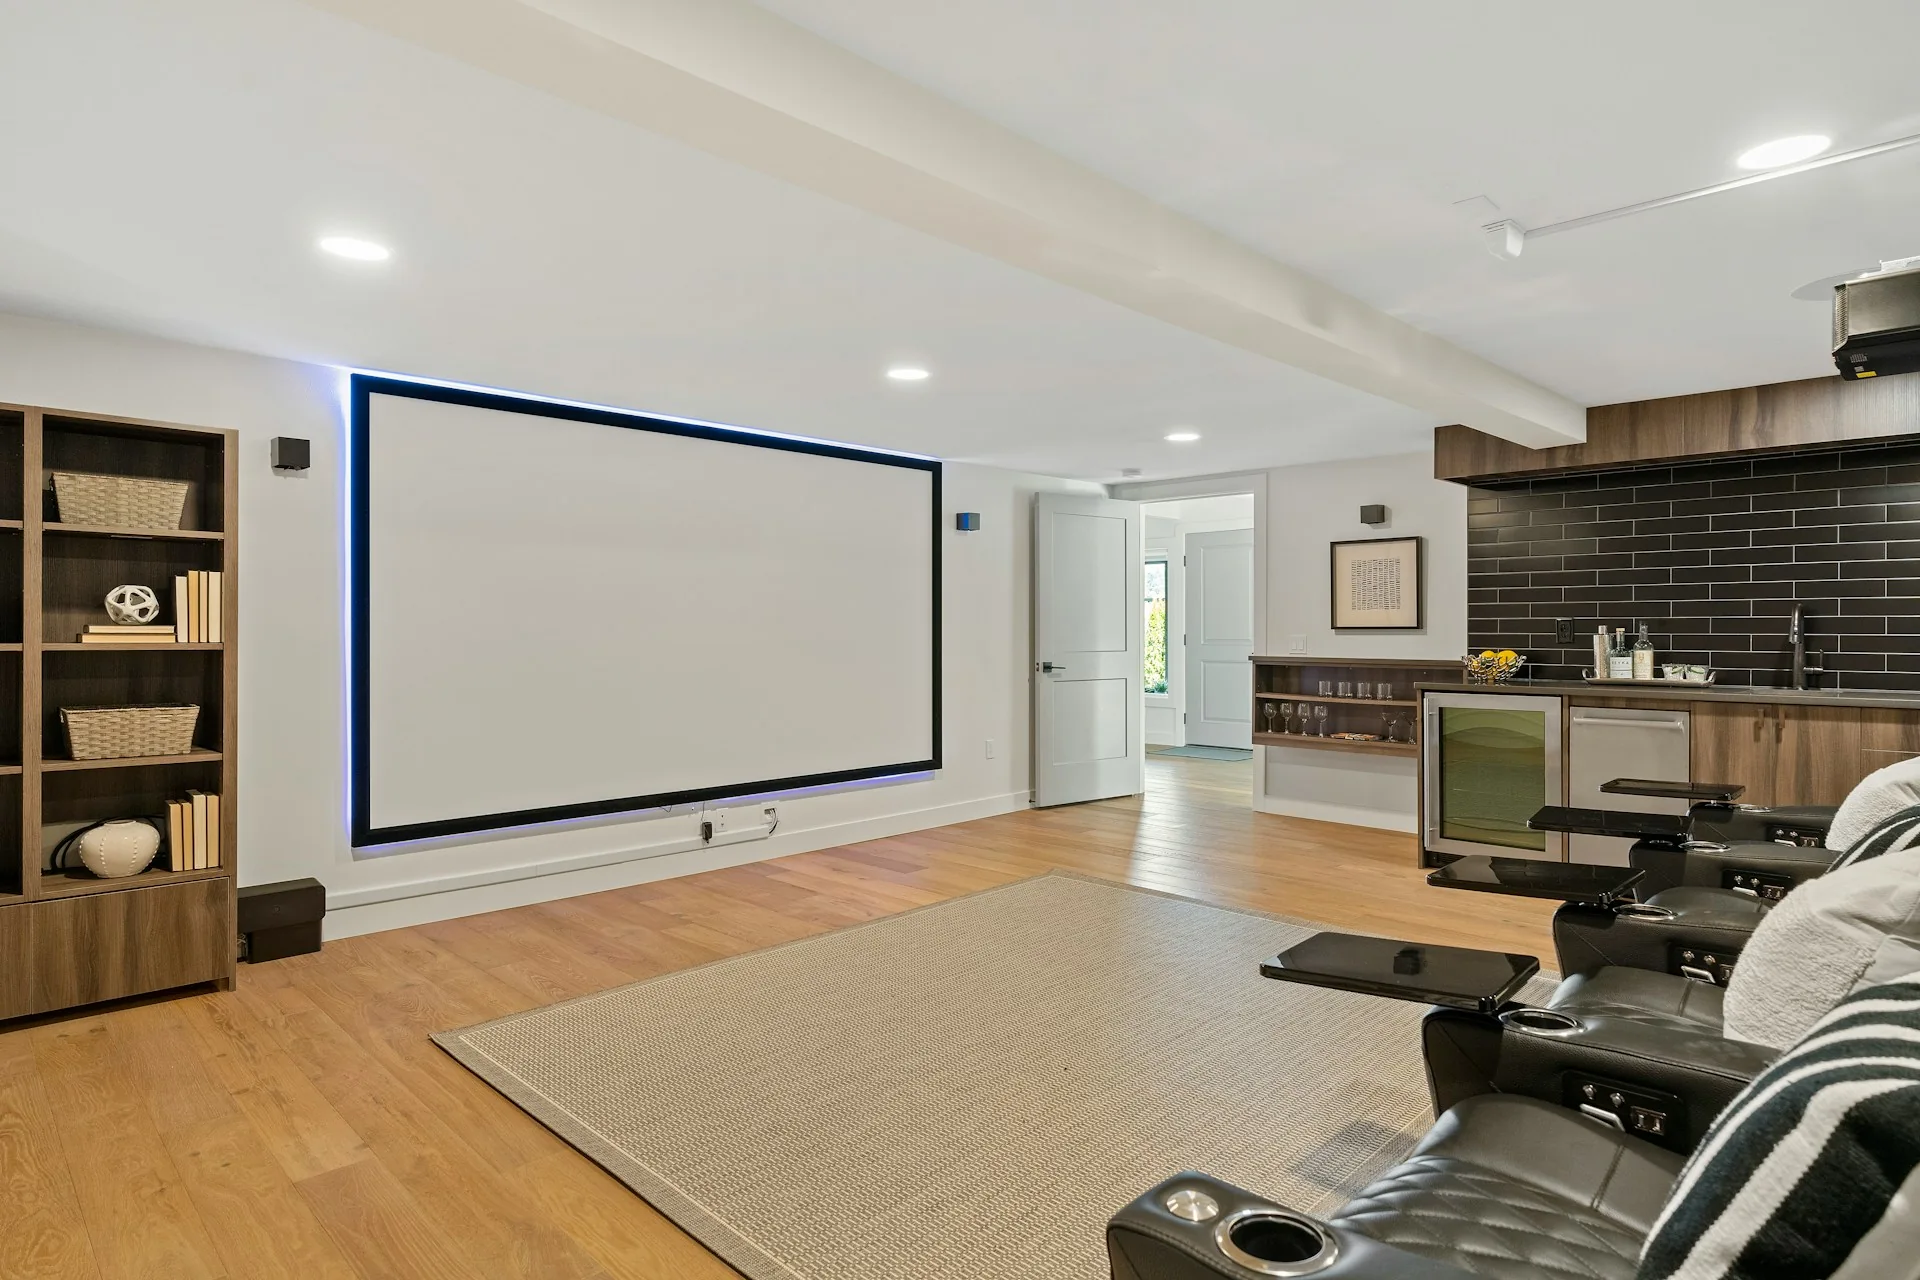
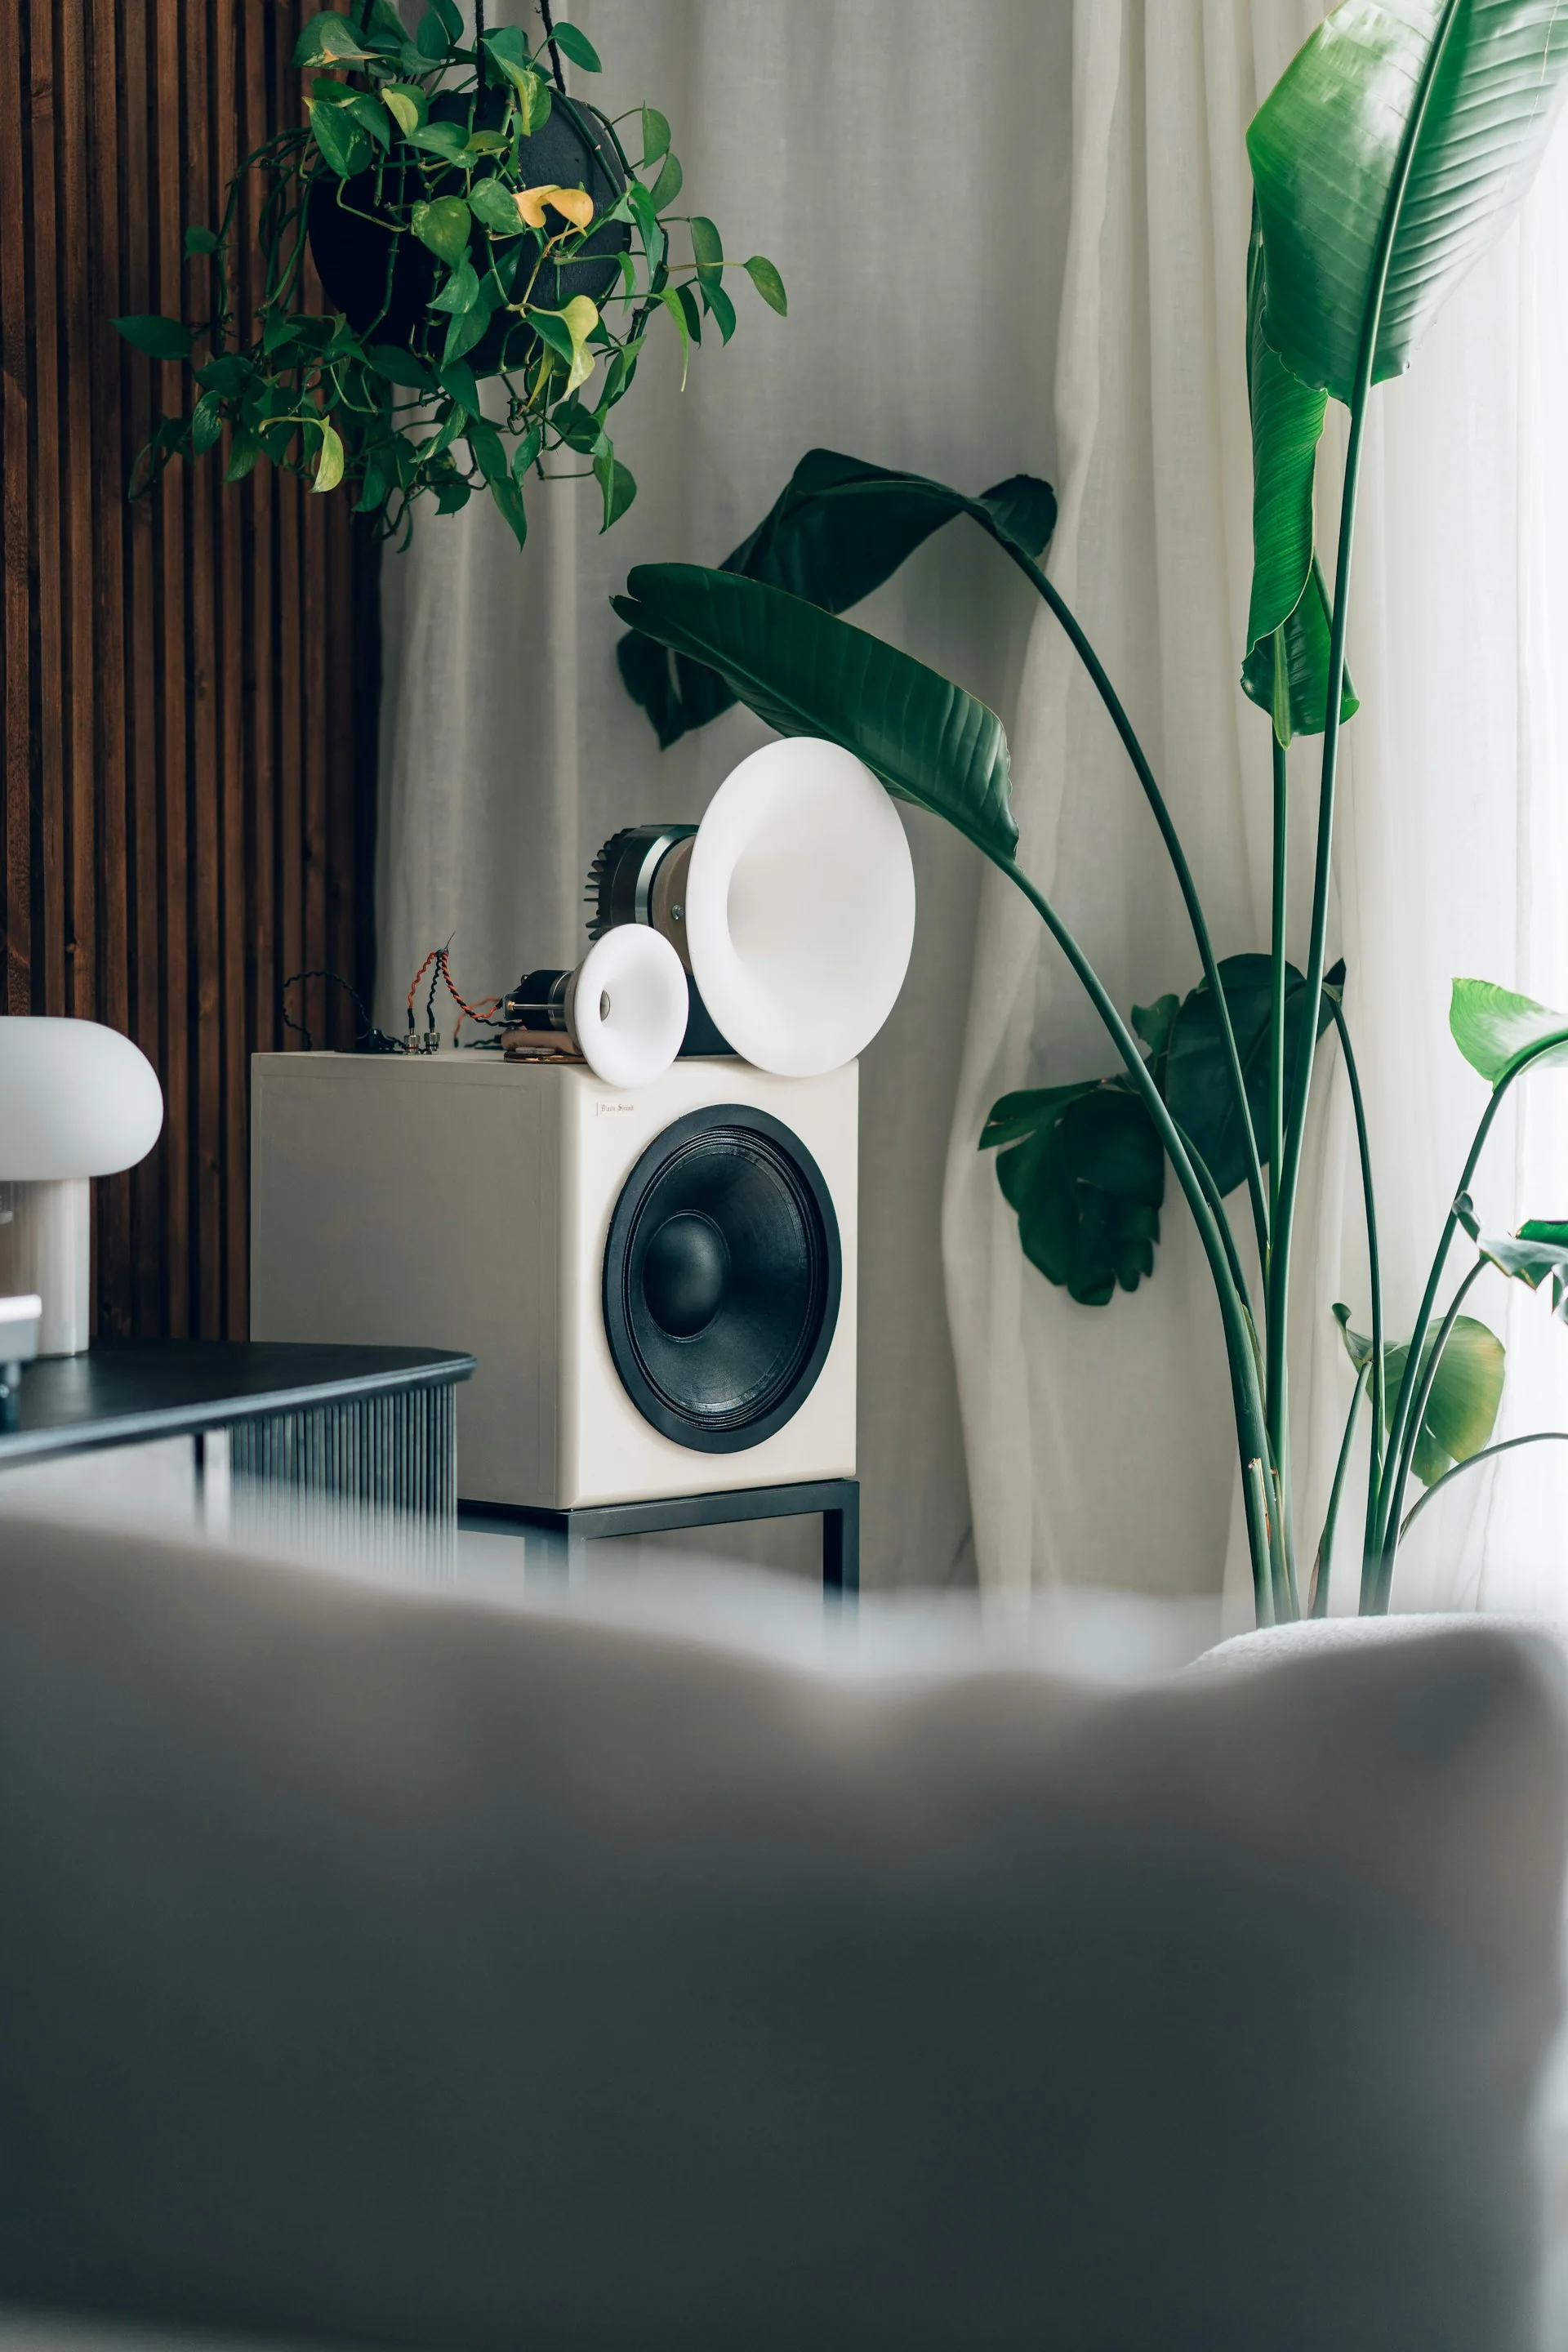
For stereo or front surround speakers, start with symmetrical placement around the screen when the room allows it. Keep the center speaker aimed toward the listening area and avoid burying it behind cabinet doors. Place a subwoofer where it fits safely, then experiment: bass response can vary considerably across a room. Do not assume the corner or the most visually discreet spot is automatically best.
Leave ventilation space around electronics according to their manuals. Receivers and projectors can generate substantial heat. Avoid tightly enclosed cabinets without airflow, and do not run cables where they create a trip hazard. For in-wall power wiring or uncertain electrical work, use a qualified professional and follow local building rules.
Do a temporary test first: Connect everything with visible cables, confirm the picture and sound, and only then invest time in cable covers or wall installation. It is much easier to move a speaker or replace a cable before everything is concealed.
6. Connect sources in a way that suits your equipment
Your sources might include a streaming box, game console, Blu-ray player or the apps built into your TV. There are two common connection paths. In the first, sources plug into the TV and audio returns to the soundbar or receiver through ARC/eARC. In the second, sources plug into an AV receiver, which sends video to the TV or projector. Both can work; compatibility depends on the ports and formats each device supports.
Check the features of individual HDMI ports. Not every port on a TV necessarily supports the same refresh rates, ARC/eARC capabilities or gaming features. If you use a console, verify that the chosen signal path supports the resolution, frame rate and variable refresh rate features you want. A receiver in the middle of the chain must also support the relevant video features.
Label cables at both ends, especially if equipment sits in a cabinet. Keep a simple record of which device uses which port. This makes future troubleshooting dramatically easier and costs almost nothing.
7. Make basic picture and sound adjustments
Factory settings are not always ideal for movie watching. On a TV, start with a picture mode intended for accurate film viewing, often called Cinema, Movie or Filmmaker Mode depending on the manufacturer. These modes commonly avoid exaggerated sharpness or overly cool color settings. Names and behavior vary by model, so compare them with familiar material and choose what looks natural in your room.
For daytime viewing, you may need more screen brightness than at night. Do not assume one setting is ideal for every lighting condition. On a projector, adjust focus and image geometry carefully. Use optical placement and lens adjustments where possible rather than relying excessively on digital keystone correction, which can reduce usable image detail.
For sound, confirm the correct speaker configuration and run the receiver's or soundbar's setup procedure if provided. Test a scene with quiet dialogue, a dynamic soundtrack and a familiar voice. If the room is very reflective, a rug, curtains and upholstered furniture may reduce distracting echoes. Expensive acoustic treatments are not the only starting point.
Do not treat online calibration values copied from a different unit as guaranteed accurate settings for yours. Panel variation, room lighting and firmware can change the result. Professional calibration is an optional later step, not a requirement for enjoying your first setup.
8. Avoid common first-time mistakes
- Buying for specifications alone: An impressive brightness or channel-count figure does not tell you how the product performs in your room.
- Ignoring room light: A large projected image can look disappointing without suitable light control.
- Oversizing the screen: Comfort matters more than bragging rights.
- Placing speakers for appearance only: Dialogue and stereo imaging can suffer when speakers are blocked or badly positioned.
- Forgetting total cost: Mounts, furniture, curtains and installation supplies are part of the system.
- Hiding cables before testing: Troubleshooting becomes much harder.
- Expecting every format to work automatically: Audio and video features must be supported across the full device chain.
9. Your first-home-theater checklist
- Measure the screen wall, seating distance and equipment space.
- Observe room lighting during the hours you usually watch.
- Choose between TV and projector based on real use, not maximum screen size.
- Set a total budget with a contingency for accessories.
- Choose a realistic audio starting point: TV speakers, soundbar or receiver-based system.
- Verify ports, mounting requirements, ventilation and cable routes.
- Test all equipment before permanent installation.
- Adjust picture mode, focus, speaker setup and dialogue clarity.
- Save device manuals and note your final connections and settings.
- Upgrade only after living with the system long enough to identify its actual weakness.
Bottom line: You do not need the most expensive screen, the most speakers or a dedicated room to enjoy a home theater. Prioritize a comfortable image, understandable dialogue, reliable connections and equipment you will actually use. A well-planned modest setup can be more enjoyable than a costly system assembled without regard for the room.
Frequently asked questions
Do I need a projector for a home theater?
No. A television with a suitable audio system can provide an excellent home theater experience, particularly in a bright or multipurpose room.
Should I buy the sound system or display first?
Start with the component that currently limits your enjoyment most. If your TV picture is good but speech is difficult to understand, audio may be the smarter first upgrade. If your display is too small or difficult to see, address that first.
Can I build a home theater in a rented apartment?
Yes. A TV on a stand, a compact soundbar, removable cable covers and soft furnishings can make a useful setup without drilling walls. Respect neighbors and building rules, especially regarding bass and mounting.
Is Dolby Atmos essential for beginners?
No. Good placement and clear dialogue matter more than a format logo. Atmos can be a worthwhile future upgrade if your room, speakers, source content and budget support it.
Sources and further reading
- HDMI Licensing Administrator — HDMI 2.1 features, including eARC
- Dolby — Home theater setup guidance
- Dolby — Dolby Atmos technology overview
This guide provides general setup principles rather than device-specific measurements. Confirm mounting, electrical, ventilation and format requirements in your equipment manuals.